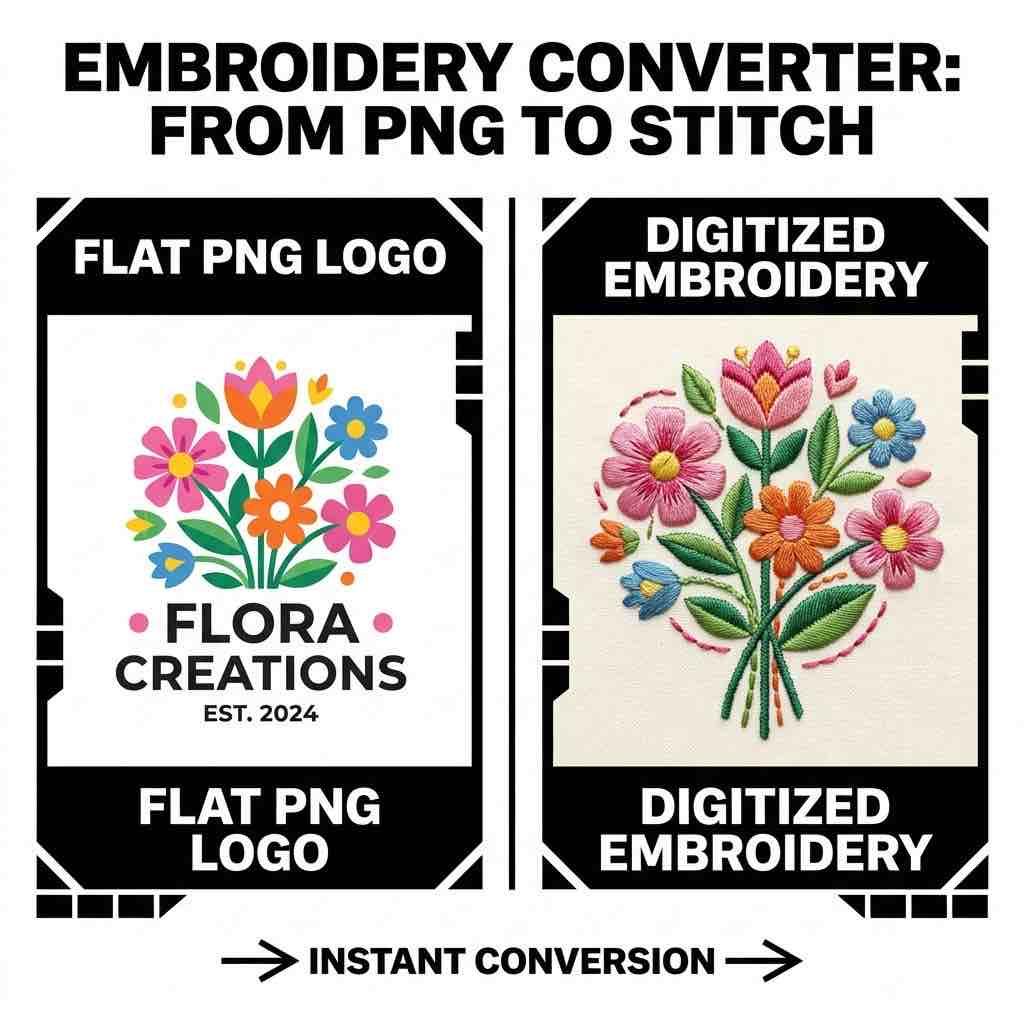
Converting a PNG image to a DST embroidery file isn't as simple as renaming a file extension. A PNG is a flat raster image — a grid of colored pixels. A DST file is a set of machine instructions: stitch coordinates, thread color stops, and jump codes. To get from one to the other, you need digitizing.
There are three main ways to do it. Each has its place depending on your budget, timeline, and the complexity of your design.
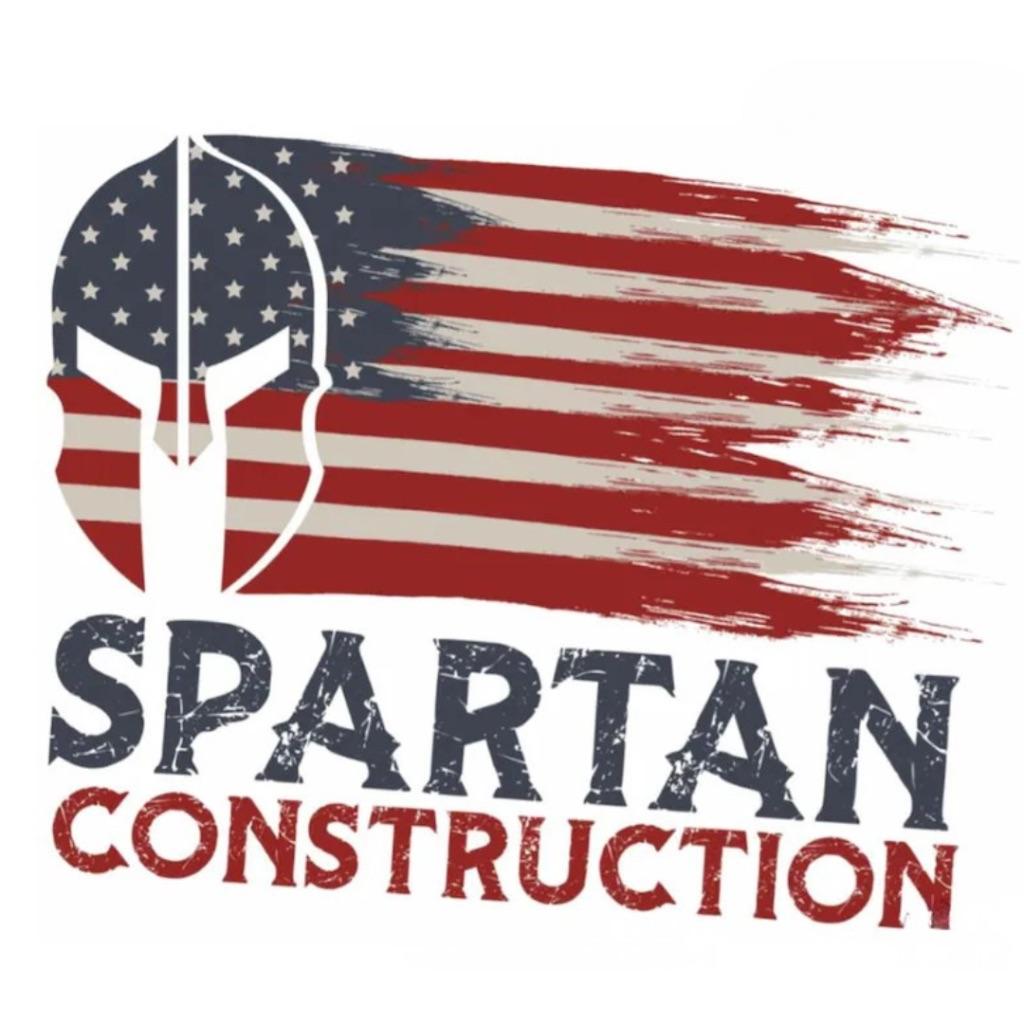
Original PNG
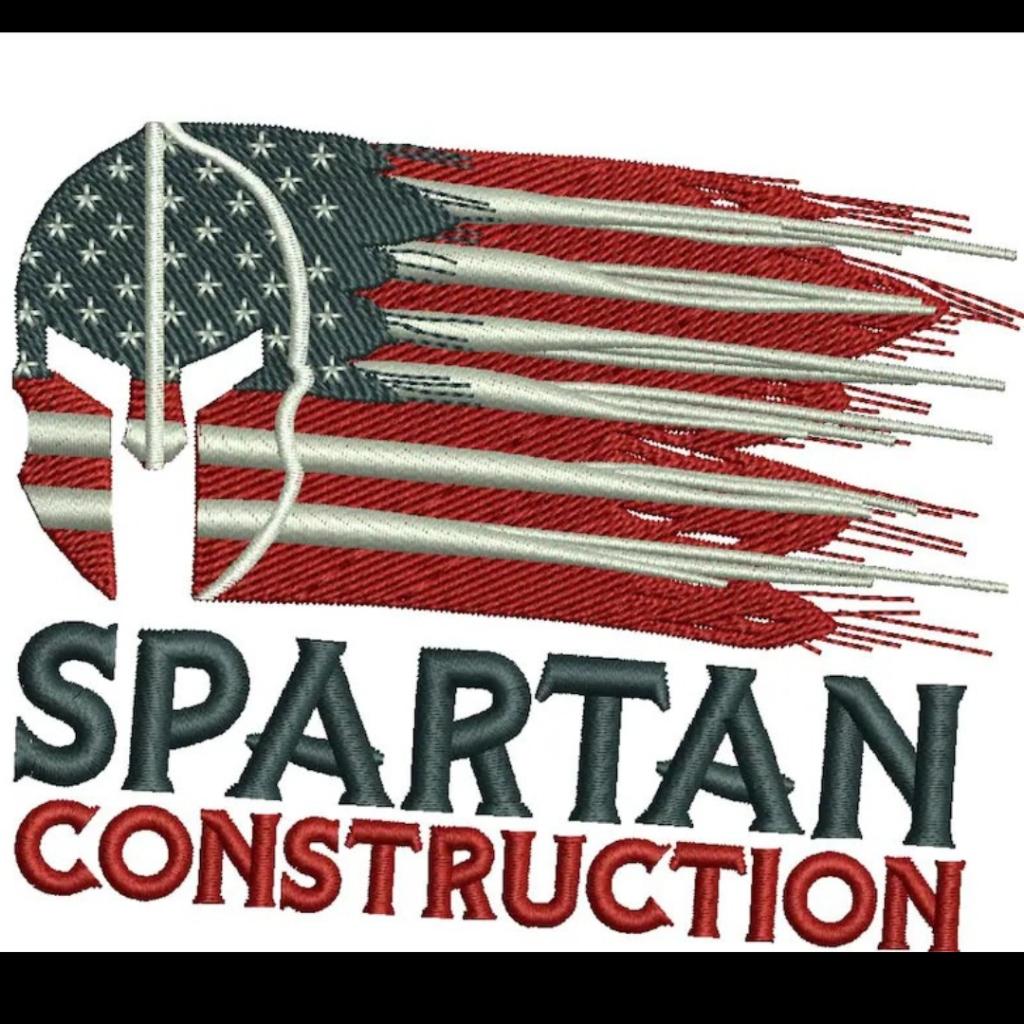
Digitized DST Result
Method 1: Auto-Digitizing Software
Programs like Hatch Embroidery, Wilcom, and Brother PE-Design include an auto-digitize feature. You import your PNG, and the software automatically traces the colors and generates stitch paths.
Best for: Simple logos, solid shapes, and designs with 3 or fewer colors on a clean white or transparent background.
Steps:
- 1Open your digitizing software and create a new project.
- 2Import your PNG as a background template.
- 3Select the auto-digitize or magic wand tool.
- 4Assign stitch types to each color region (usually done automatically).
- 5Adjust stitch density and pull compensation manually.
- 6Export as .DST from File › Export.
Downsides: Auto-digitizing struggles with small text, fine details, and complex shading. The output often requires heavy manual correction and can produce excessive stitch counts that slow down machines and cause thread breakage.
Method 2: Manual Digitizing
Manual digitizing is the gold standard. A trained digitizer traces every element of your design by hand inside the software, assigning the correct stitch type, angle, density, and underlay to each shape.
Best for: Complex artwork, logos with fine detail, shading, small text, and any design going onto stretchy or delicate fabric.
This is what Stitchique does. Every file we deliver is manually digitized by an expert, not processed by an algorithm. The result is a file that sews correctly on the first run — no thread breaks, no puckering, no registration issues.
Turnaround: 1 hour for most designs.
Method 3: Online AI Converters
Browser-based tools like our Stitchique AI Converter let you upload a PNG and download a DST file without installing any software. The AI maps color regions and generates stitch paths in seconds.
Best for: Quick tests, simple shapes, and situations where you don't own embroidery software.
Limitations: Like all automated tools, AI converters lack the contextual judgment of a human digitizer. They can't know that your small text needs a higher density, or that your satin column is too narrow for the default settings. Use them for prototyping, not production.
Which Method Should You Use?
| Method | Speed | Quality | Cost |
|---|---|---|---|
| Auto-Digitizing Software | Fast | Medium | Software license ($200–$1,000+) |
| Manual Digitizing (Stitchique) | ~1 Hour | Professional | $9.99–$49.99 per design |
| Online AI Converter | Instant | Basic | Free / Low cost |
For production-ready files that work on the first sew-out, manual digitizing is the only reliable option for anything beyond the simplest designs. Place an order here and receive your DST file within 1 hour.